July 2024 Update: Since the redaction of this post, Apple has released a sample project that allows building games for the PlayDate with Swift. After a bit of exploration, it turned out it was working very well. Going forward, I will use Swift as my language of choice for the PlayDate with PlayDateKit. Therefore, you should not expect any further progress with this tutorial.
For once, I decided to explore a different platform. SpriteKit isn’t going away, but for some things in my regular job, I wanted to see how difficult it would be to develop games for the PlayDate in C. In case you’re wondering now, no, Alt Shift has no plan to release a PlayDate game any time soon, but we like to explore different things from time to time.
During my initial setup of the PlayDate SDK, I ended up with step-by-step guides that are not cross-platform for the most part. Through the official documentation, you can either use Xcode on macOS, Visual Studio on Windows, or CLion on both platforms. At Alt Shift we use both Windows and macOS, so the only viable option there would be CLion, which is paid (and not cheap).
Jetbrains, the developers of CLion also make Rider that we use daily, so I have no problem considering CLion as a very capable IDE. But the cost remains a problem if the tool becomes an integral part of your development workflow on a platform as niche as the PlayDate. You may not recover your investment.
In the past, we used Visual Studio Code on both Windows and macOS to develop our Unity games. Visual Studio Code being as versatile as it is, I was pretty sure it would be great for PlayDate. But I had a hard time finding any tutorial on how to set it up. There are templates but most do not come with explainers. So I had to build one myself.
Here it is!
This tutorial has not been tested outside of macOS (for now). Furthermore, I only used the PlayDate Simulator so far. Adjustements are probably needed to build and debug on actual devices. I will update this post with additional instructions for Windows when time comes if needed.
I found that the “Hello World” sample project from the PlayDate SDK was a good starting project to ensure that your Visual Studio Code is fine. So I’ll use it for the rest of this post.
You can find it under C_API/Examples/Hello World in the PlayDate SDK folder. Copy it anywhere you want to get started.
Setting up Visual Studio Code for the PlayDate requires a few things only. If you’ve installed all dependencies needed by the PlayDate SDK for the C language, you’ll only need the C/C++ extension from Microsoft (but you can opt for the C/C++ Extension Pack that comes with an additional theme).
To keep things simple, I chose to use plain Makefiles to handle compilation. But your mileage may vary here and you may want to install specific extensions for CMake or any other fancier build tool.
Don’t forget to set the PLAYDATE_SDK_PATH environment variable. You will need it later.
First, we have to add a few options to .vscode/settings.json:
{
  "C_Cpp.default.includePath": ["${env:PLAYDATE_SDK_PATH}/C_API"],
  "C_Cpp.default.defines": ["TARGET_EXTENSION", "PLAYDATE_SIMULATOR"],
  "[c]": {
    "editor.defaultFormatter": "ms-vscode.cpptools"
  },
  "C_Cpp.formatting": "vcFormat",
  "files.associations": {
    "*.h": "c"
  }
}
C_Cpp.default.includePath, we add the PlayDate C API folder to the include path to be able to use the PlayDate SDK headers without Visual Studio Code complaining.C_Cpp.default.defines, we set the defines required to compile and debug for the simulator..c and .h files.With the project settings in place, you should be able to get auto-completion running and be able to navigate your code. Though you won’t be able to build. Yet.
In order to actually compile the project and run it on the simulator, we need to update two other files.
First, in .vscode/tasks.json, we will add a “make” task. As its name suggests, the task will build the project.
{
  "version": "2.0.0",
  "tasks": [
    {
      "label": "make",
      "type": "shell",
      "command": "make",
      "problemMatcher": [],
      "group": {
        "kind": "build",
        "isDefault": true
      }
    }
  ]
}
Then, in .vscode/launch.json, we will add a launch configuration that will run the build on the simulator, executing the “make” task beforehand to make sure the build is up to date.
Important Note: Be sure to change HelloWorld.pdx to the actual name of your build when needed.
{
  "version": "0.2.0",
  "configurations": [
    {
      "name": "Debug",
      "type": "cppdbg",
      "request": "launch",
      "program": "${env:PLAYDATE_SDK_PATH}/bin/Playdate Simulator.app",
      "args": ["${workspaceFolder}/HelloWorld.pdx"],
      "stopAtEntry": false,
      "cwd": "${fileDirname}",
      "environment": [],
      "externalConsole": false,
      "MIMode": "lldb",
      "preLaunchTask": "make"
    }
  ]
}
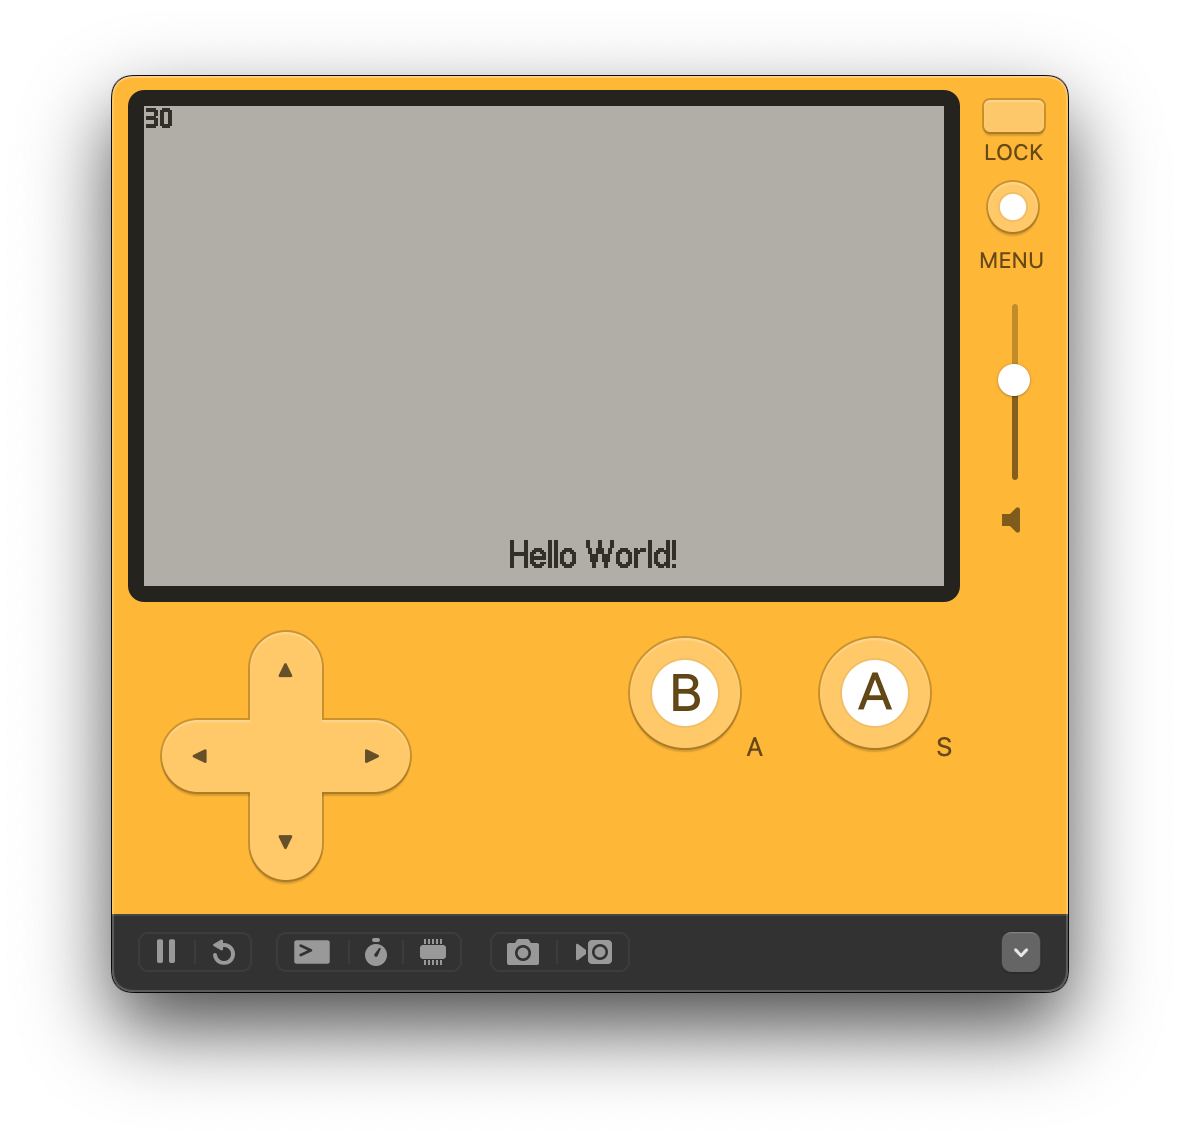
Now that everything is in place, press F5 to build your project and run it. You should see the console display some messages and after a few seconds an “Hello World” message should appear on the simulator’s screen. If not, then, start again, from the top.

Otherwise, you’re almost good to go. There are only a few more things to set up and call it a day.
While working with Visual Studio Code, you may want to auto-format your files when you’re saving.
For that, you have to add a .editorconfig file at the root of your project. You can either configure this file as you see fit or download this template with my own preferences.
Then enable “format on save” by adding this in the settings.json file:
"editor.formatOnSave": true
If you’re using git to save your work (And I hope you do use either git or any other of its competitors!), there are some files you need to ignore. When building your game, many intermediary files will be created that should not be committed to your repository.
If you have no .gitignore file in your repository (many hosting providers offer initial templates when creating a repository), create one at the root of your project.
Then, either way, add these lines to your .gitignore file:
build
*.pdx
.DS_Store
You’re now ready to work with the PlayDate Simulator and create great games and apps for the PlayDate. I’ll update this tutorial in due time with instructions on how to build, run, and debug on the actual device.